"Before" and "After" video:
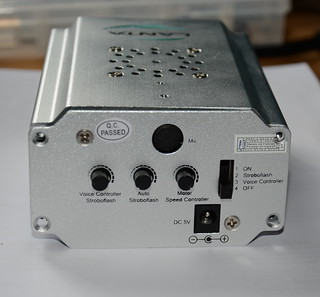
We were looking for a cheap laser lighting effect for our weekend parties and saw one that looked impressive, the Lanta Quasar Buster 2, and for only £30 new. The unit has both a red and green laser and and a nice moving effect that looks like the beams splits up and recombine again. It promised "sound activation" and we thought that meant it would do some clever sound to light effect, but it really does mean sound activation and just turns itself on when it hears a sound, then off again when it's silent. So out of the box the laser has three modes; the first lets you just set the speed of the effect with the lasers constantly on, the second strobes the lasers on and off to a speed you can set, and the third is the usless sound activation mode.
Warrany void if removed. I didn't technically "remove" the sticker though.
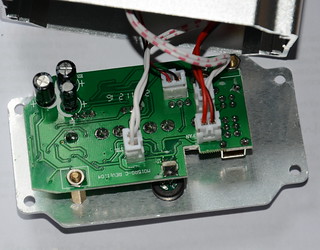
Opening the unit showed that it was easily hackable; all the connections to the control panel were via connectors. One connector provides +5v to the cooling fan, another +5v to a separate board that handles powering the two lasers, another connects to the motor the turns the optics to produce the burst effect, and the final one has a logic level signal to tell the laser power board if the lasers should be on or off.
Since the laser power board is completely separate we can just replace this control panel with one of our own and then we can control the laser on/off and the speed of the motor (actually we could control the direction too but it doesn't really make the effect look any better so I leave it as one direction). And we can always swap the original board back in the future.
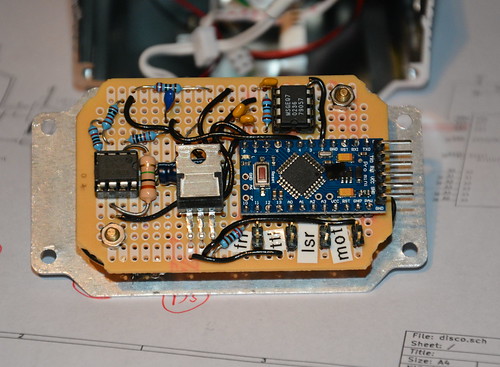
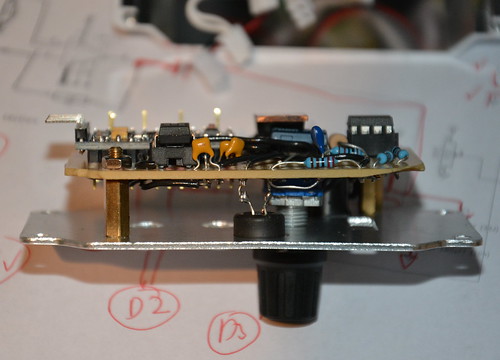
My new control board comprises of an Arduino pro mini compatible board, a rotary encoder for setting the mode and levels, a mic with simple opamp preamp, and a MSGEQ7 chip to do all the hard work of analysing the levels of various frequencies. The optics motor is now simply driven using a PWM output via a MOSFET I had spare.
Rough source and circuit diagram are available from github; some components don't have values if it doesn't really matter and others (like the MOSFET) can be changed as I just used things I happened to have in my component boxes. I'm still playing with different effects in software to see what works best.
 For my Birthday my wife bought me
a Peggy 2
kit, and I finally got around to adding the 625 10mm green LEDs. Some of the
example programs are pretty neat but I wanted to make a side scroller with
a nice font ready for halloween.
I decided on the Liberation Sans Narrow font, drew up a string of characters in The Gimp, converted it to have only 4 levels, then used a quick perl script to convert the image into program data for the scroller. I'm pretty happy with how it turned out. The scroller, image, and script are available here.


